This tutorial will show you how to make a bouncing heart gif. Gifs are best timed around 3-5 seconds, to keep the loop constant but also to keep the size down so they can be used anywhere with no lag.
Tools you’ll need:
- Photoshop – although you can make gifs in dozens of softwares nowadays, today it will be Photoshop.
- Imagination! – I’ll be doing a very simple heart for Valentines Day and for a beginner gif, but a heart can be replaced with pretty much any shape or object.
We’ll be creating a bouncing heart that’s similar to this bouncing ball animation, with less drawing. We’ll also add a shadow and some shine. There will be 12 total frames in this animation to keep it super-simple!
Step 1
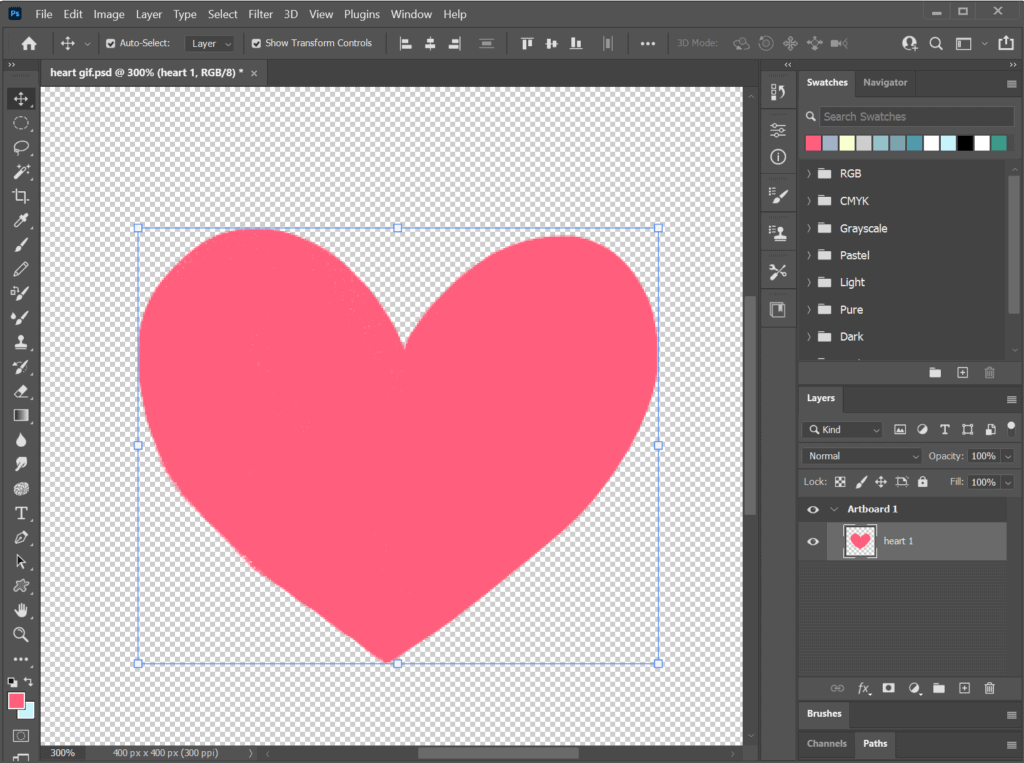
Start up Photoshop and set up your canvas.
We’ll be using 400×400 at 300ppi (pixels per inch) to keep the file small and the resolution clear. Keeping the file small is essential. Because this will be used as an instagram sticker, and not on a giant desktop screen, we don’t have to compromise on resolution. Set to RGB color since gifs are primarily digital. Save your project as “heart gif.psd”. And make sure you’re saving after each step in the process.

Draw your first frame.
We’re gonna keep the background white for now so it’s easier to see our layers. Create a new layer, and draw out your heart shape. This is fairly simple with the lasso and pen tool, but it’s also helpful to bring in a heart png and draw on top of that. Label that layer “heart 1”. This frame will be the top of the animation cycle, so keep the heart close to the top of the canvas.
 Step 3
Duplicate that frame and put it in a different position. Rename the layer “heart 2” and drag it slightly above the first heart. (this process is much quicker in After Effects but we’ll get to that another time ;))
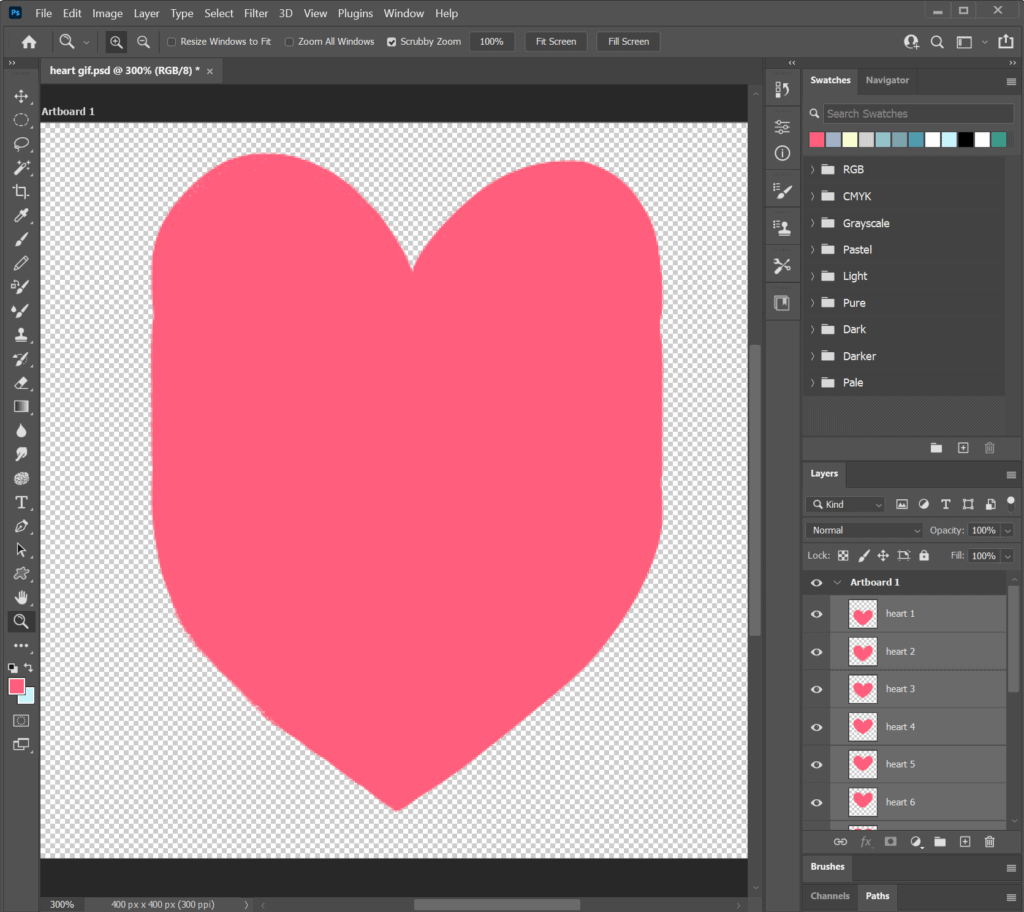 Repeat this process until you have 7 heart frames (all named!) moving farther up.
Step 4
Duplicate heart layers 1 through 7 and rearrange to make a full looping animation. Heart 10 to 17 should be moving downward towards heart 1.
Step 6
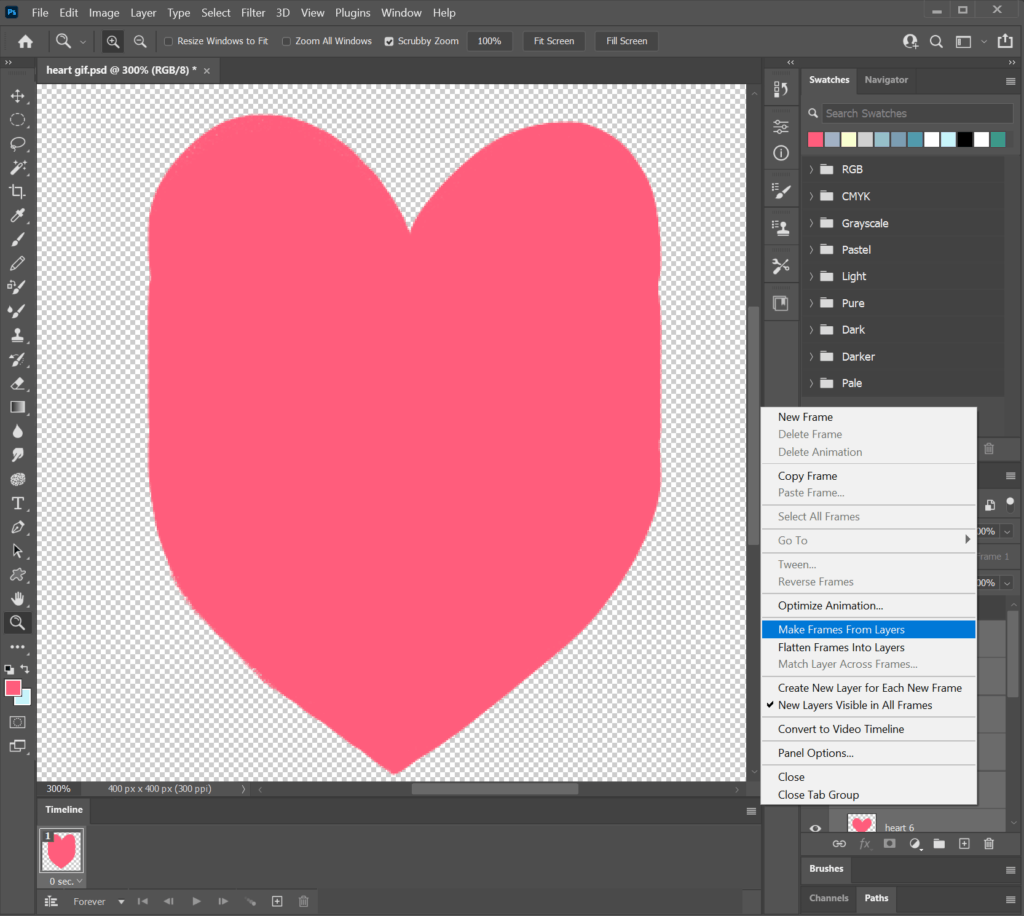
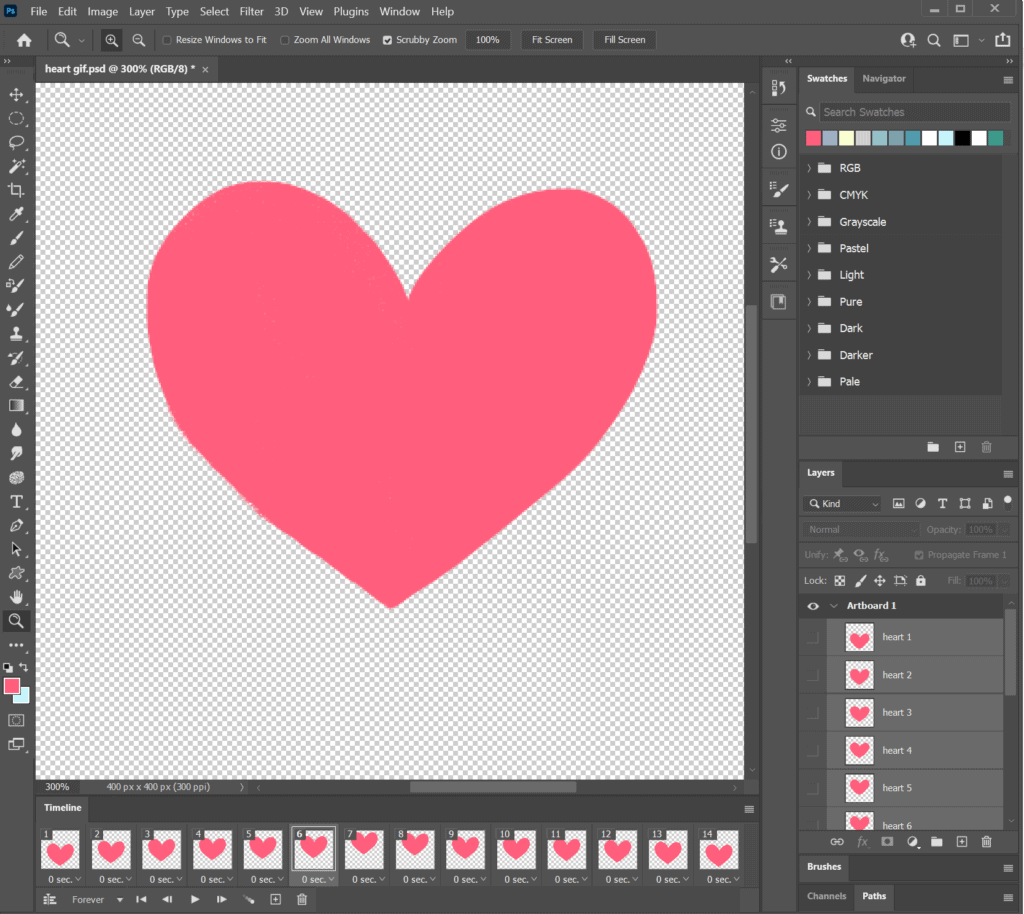
Test out your animation. This way we can see that all the hearts are in the right position, bouncing up and down. Save. Select all your layers in the right panel. Go to Window and select “Timeline.”
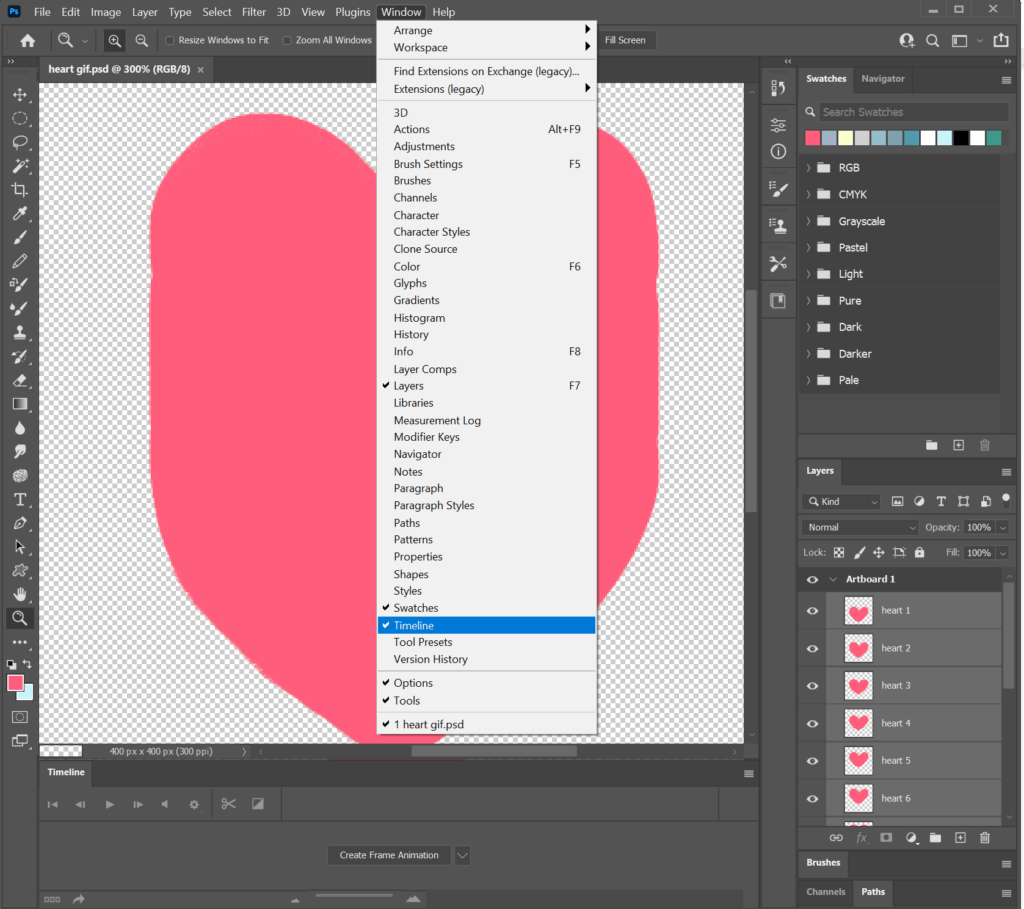 Click “Create Frame Animation.” Click the small lines above the timeline panel and select “Make Frames From Layers”.
 Play your animation and see if you need to add some more in-between frames. Adding more in-between frames will make your heart move smoother.
 Step 5
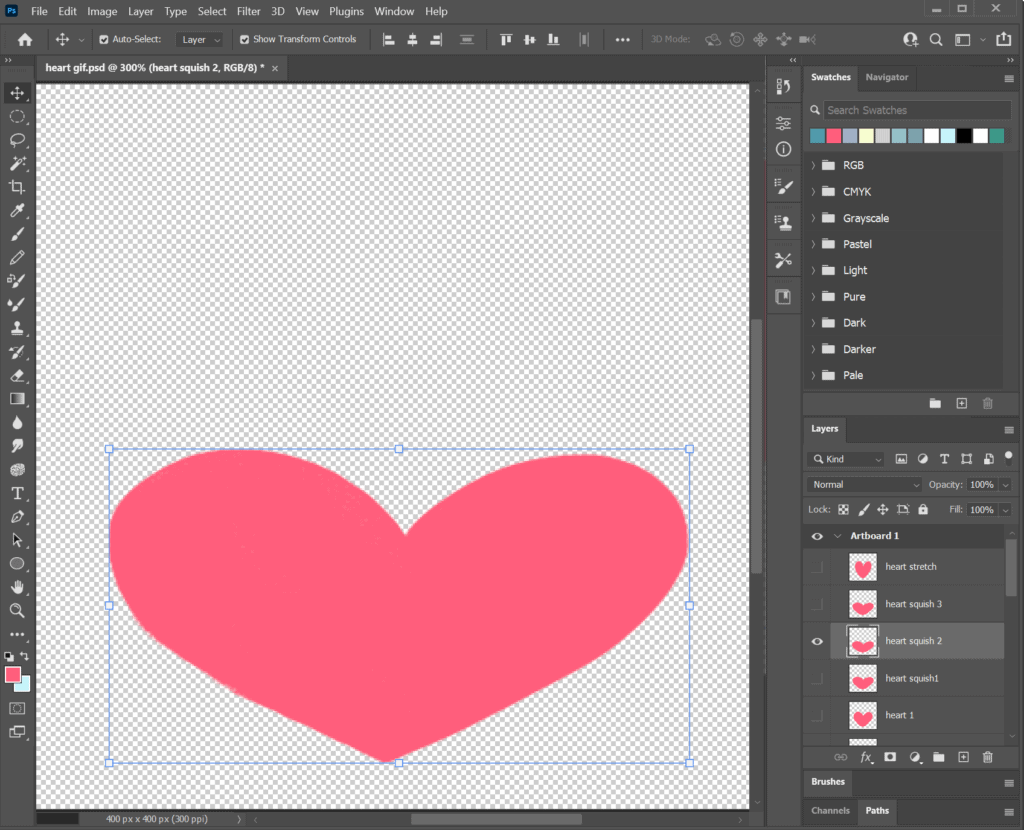
Make the heart squish and stretch. This is a fundamental animation rule when it comes to bouncing objects. We want to replicate what happens in the natural world, so in order to give an object volume, we want to show its elasticity.
Duplicate your heart 1 layer, rename “heart squish”. Hold down shift and use the move tool to make your heart wider and shorter. I.e. the “squish”.
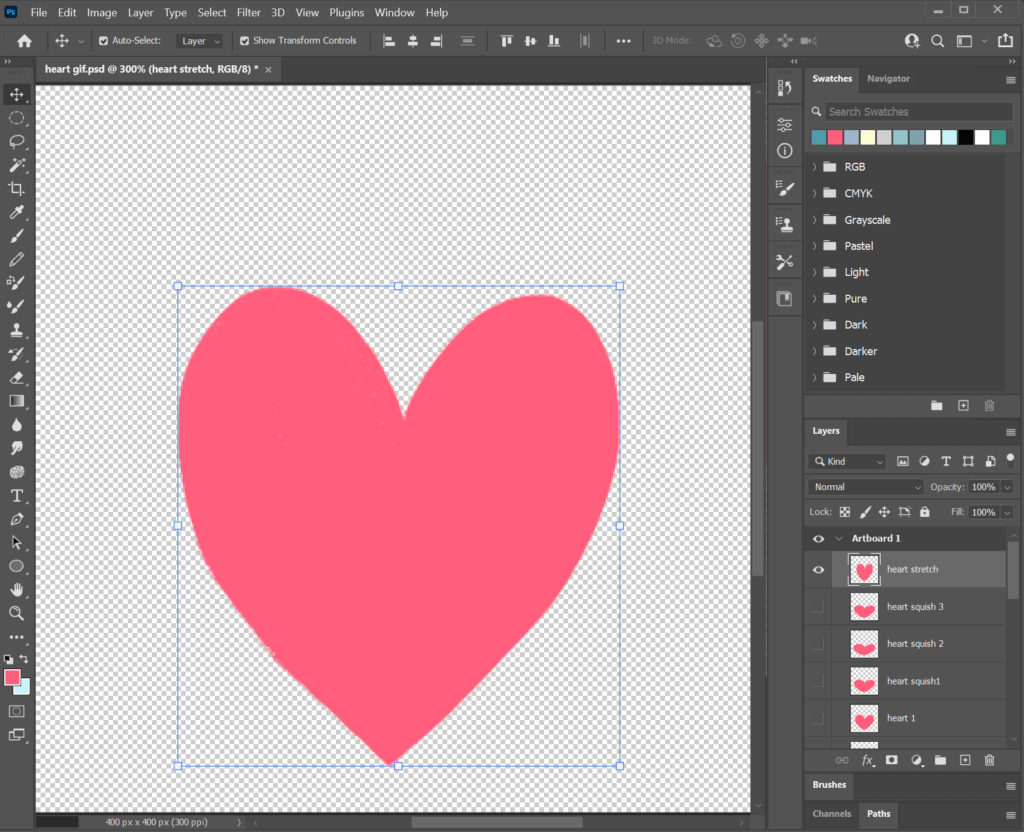
Duplicate your heart 1 layer again, rename “heart stretch”. Move this layer above heart 8 squish, and stretch it upwards, holding down shift and the move tool.
 Remember to save your work!
Step 6
Test out your animation and export.
 Save. Select all your layers in the right panel. Go to Window and select “Timeline.” Delete old frames. Select “Make Frames from Layers.”
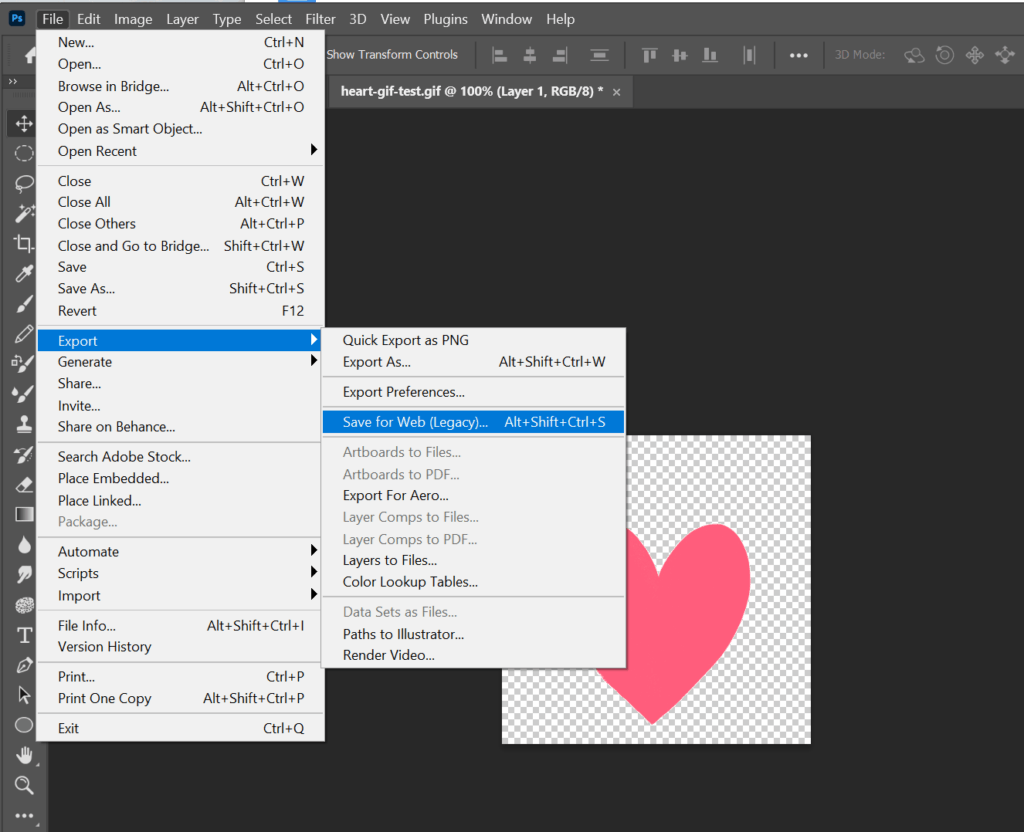
 Play your animation and adjust timing if needed. Go to File>Export>Save for Web Legacy..
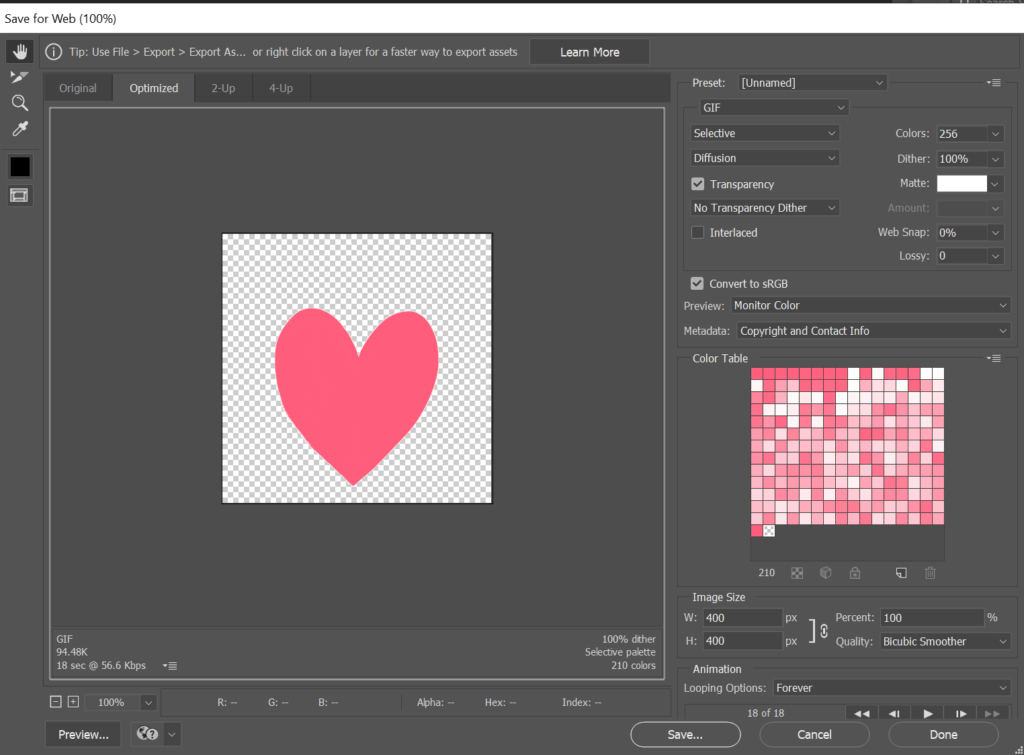
 Save your gif!